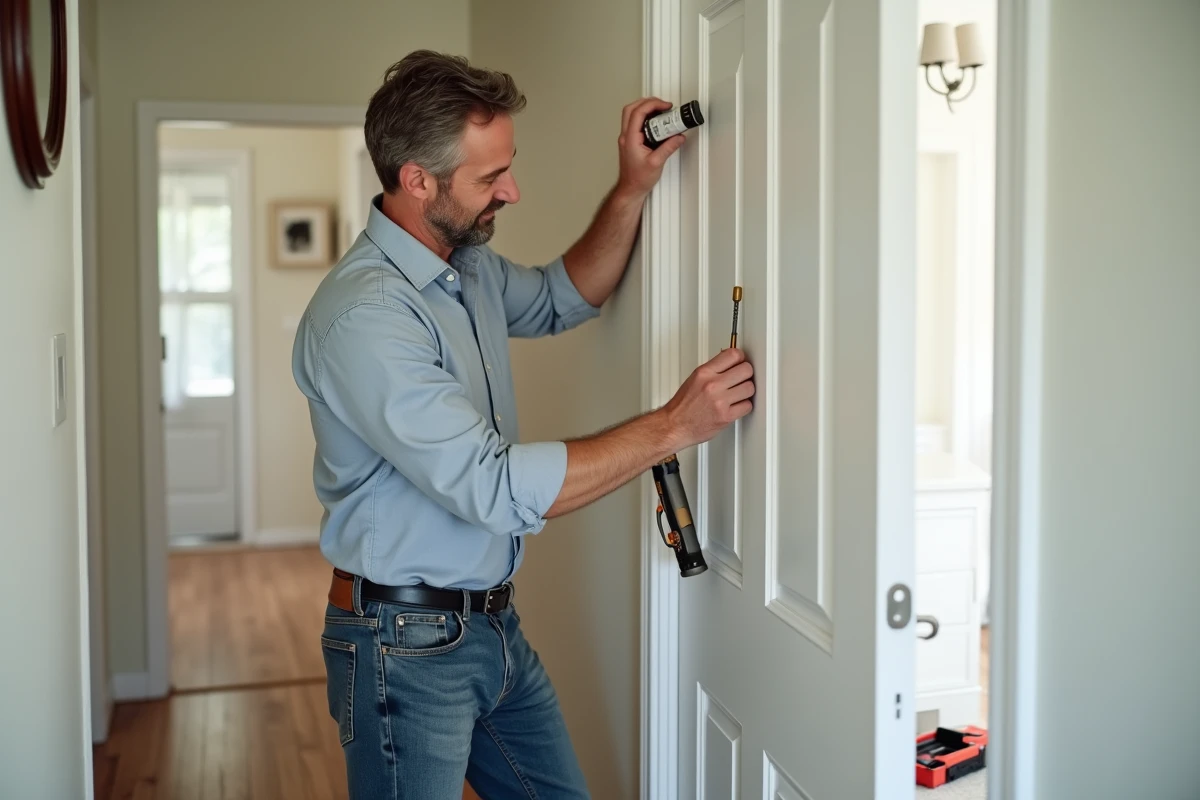
A coat rack screwed directly into a hollow door often ends up detaching under the weight of the clothes. Classic fixings do not hold on this type of support, even if they seem suitable at first.
However, some methods allow for a durable fixing without damaging the lightweight structure of the door. Using the right accessories and following a few precautions transforms an uncertain operation into a reliable result.
Why hollow doors pose a real challenge for fixing a coat rack
Hollow doors, found in almost every modern apartment, are nothing like the solid doors of the past. Their core offers only an empty space or cardboard mesh, sandwiched between two lightweight panels. At first glance, there’s nothing that inspires confidence when it comes to screwing in a coat rack.
In these conditions, the classic fixing works against you. Standard screws or ordinary plugs barely suffice for a picture, let alone to support the cumulative weight of several coats. The material is lacking, and with it, the mechanical grip. Moreover, the pull-out resistance of such a door remains very low: the screw always ends up giving way, the support gets damaged, and you’re left with a gaping hole as a reminder.
Adapting your method is key. No more improvisation: there are proven solutions tailored to this configuration, whether it’s reinforcements positioned in the right place or systems specifically designed to distribute the load across the surface. For those who want to go further, fixing a coat rack on a hollow door with Mon Habitat remains a frequently cited reference because it details each step validated by professionals.
What solutions to prioritize for a solid and durable fixing
In practice, several methods ensure that the coat rack stays in place, regardless of the demands. Here are the main methods that really work.
The choice of the appropriate plug
Before installation, you need to select the most suitable fixing from several options:
- Molly plug: Essential when aiming for reliability. Its internal expansion allows for a solid anchoring, even with a hollow panel.
- Self-drilling plug: Convenient and quick to install without pre-drilling, but reserved for lighter objects or as a backup to another system.
- The plastic plug, on the other hand, is limited to minimal loads and hardly lasts over time on this support.
Reinforcing the fixing
For those who prioritize robustness, a few clever accessories enhance the hold:
- Placing a wooden plate or board on one side of the door: this multiplies the support points and disperses the stress exerted by clothes or bags.
- Sliding a metal washer under the screw to prevent it from sinking into the panel. Simple, but significantly more reliable.
As for powerful glue or removable adhesives, one must know their limits: perfect for temporary and lightweight accessories, but hardly suitable for holding several bulky garments day after day.
Lastly, nothing prevents you from combining the useful with the pleasant. Pairing an expansion plug system with a stylish wall-mounted coat rack is choosing durability without compromising the room’s aesthetics.
Practical steps and tips for successful installation without damaging the door
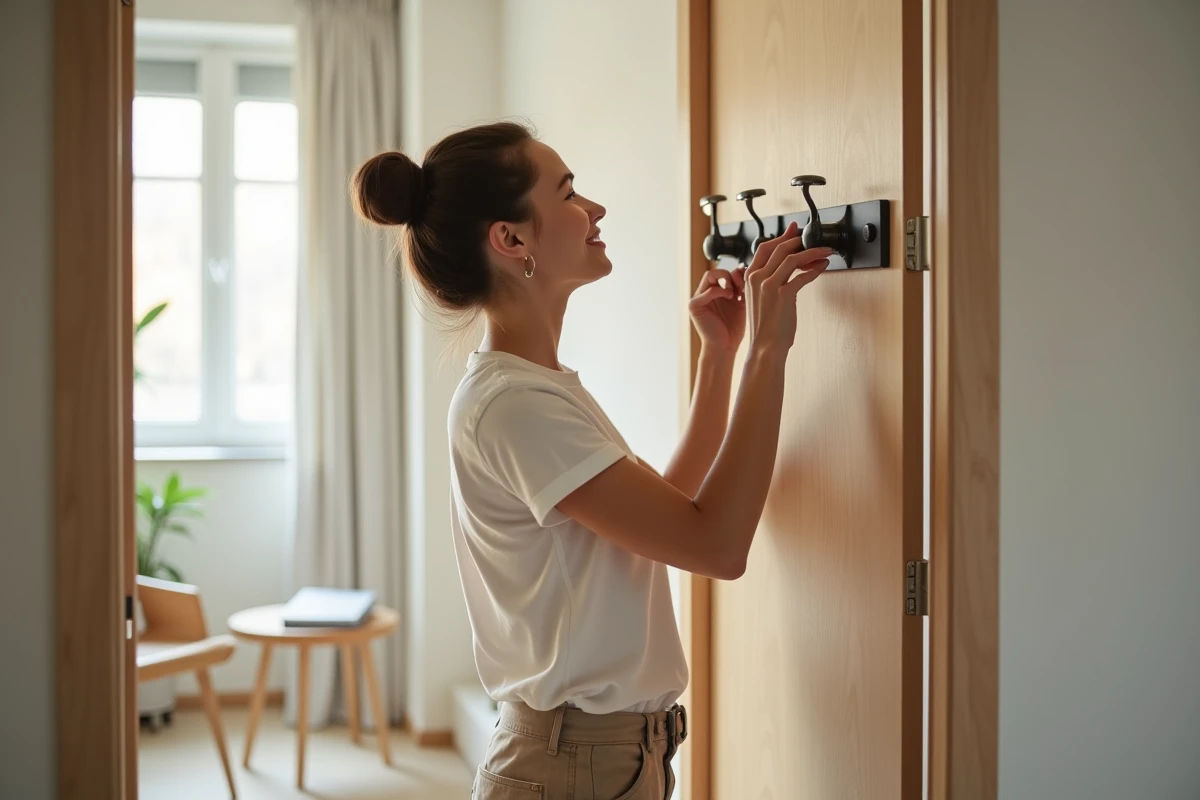
Installing a coat rack on a hollow door first requires checking the surface: its condition, thickness, and the presence of stronger strips along the edges. Equip yourself with a tape measure to measure, precisely mark the drilling points with a pencil, and then adjust them using a level. These small gestures help avoid unpleasant surprises during assembly.
Next comes the drilling phase: avoid forcing, choose a drill bit suitable for the material to prevent tearing the surface layers. Installing a Molly plug involves several steps: inserting it into the hole, opening it internally, and locking it in place with pliers or a screwdriver until the fixing is secure.
For those seeking peace of mind, placing a metal washer between the screw head and the panel significantly reduces the risk of deformation. Some do not hesitate to slip a small board on the inside to cushion the pressure and nip any temptation for the door to give way under the weight.
After installation, erase the pencil marks with a swipe. Hang a coat or bag immediately to test the sturdiness. This simple test makes a difference: one only realizes the validity of a technique when the door, burdened with winter coats, remains perfectly upright. Successful fixing, worry forgotten, the door becomes a discreet ally, and the entryway, a space reorganized for good.